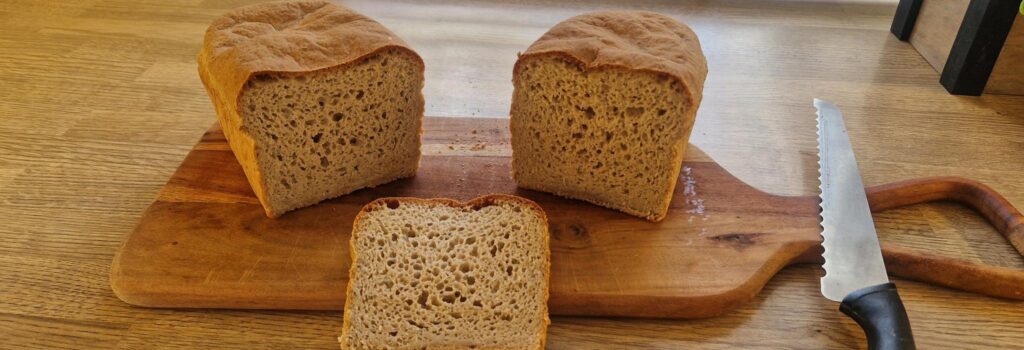
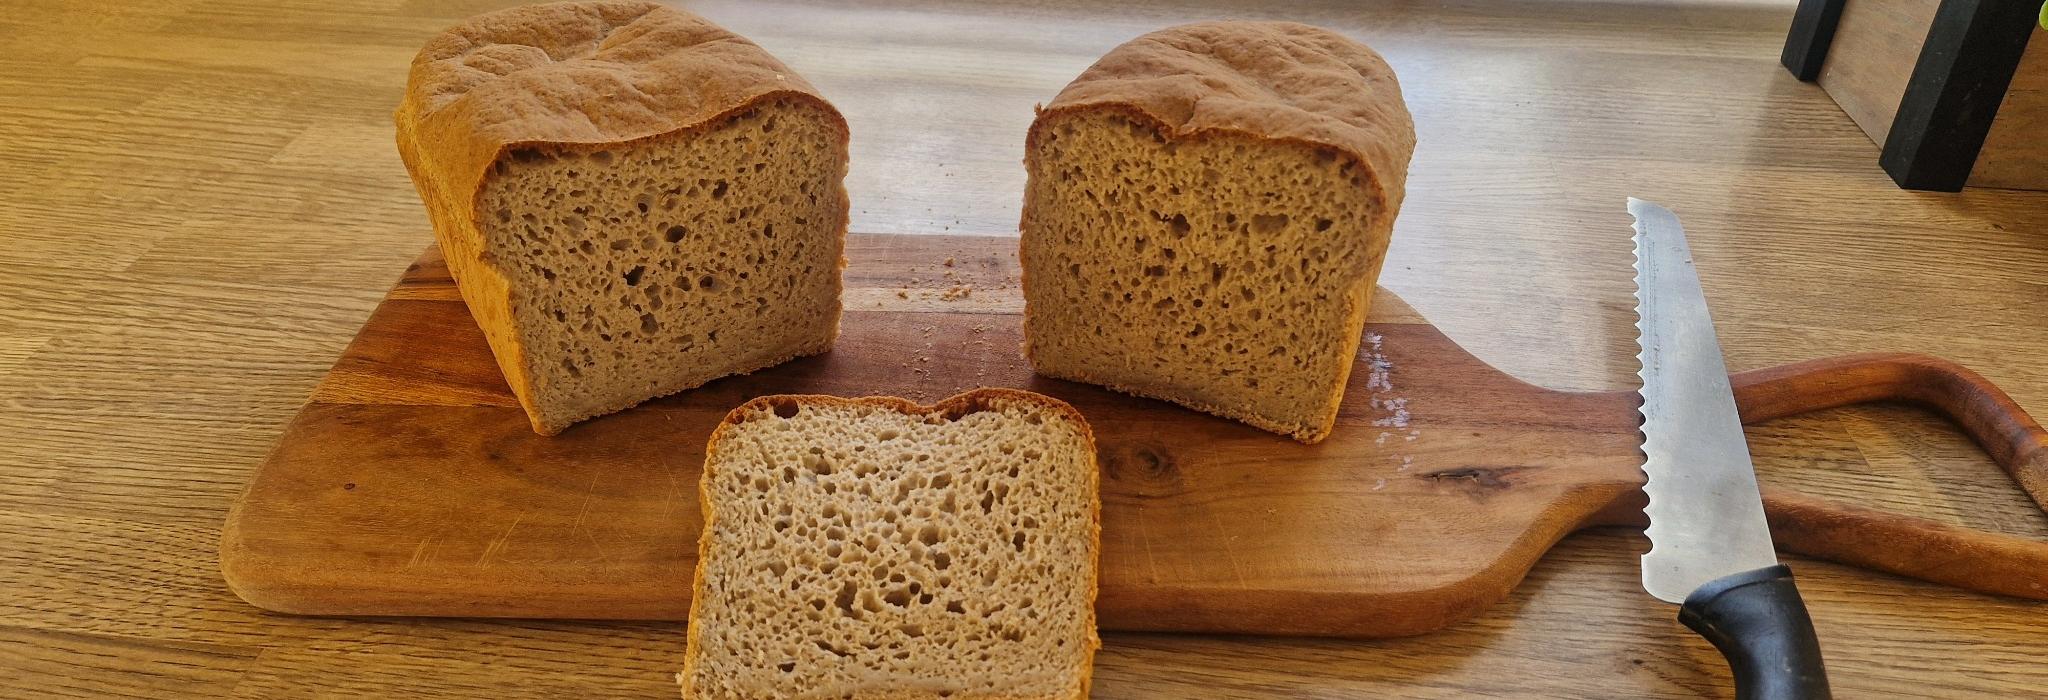
This rustic teff bread is a simple homemade loaf that slices well and works perfectly for toast or jam.
The recipe is made with gluten-free flour and teff flour, which gives the bread a slightly nutty flavour and a lovely darker crumb.
It’s an easy everyday loaf that can also be flavoured with spices such as fennel, caraway or star anise if you want something a little different.
Why This Recipe Works
- Reliable structure: The combination of gluten-free flour, teff flour and psyllium husk helps create a loaf that holds together and slices well.
- Simple ingredients: This recipe uses straightforward pantry ingredients and does not require complicated techniques.
- Flexible flavour options: The basic loaf is mild in flavour but can easily be adapted with spices such as fennel, caraway or star anise.
Ingredient Notes
- Gluten-free flour: A gluten-free flour blend provides the main structure for the bread.
- Teff flour: Teff flour adds flavour and colour, giving the bread its slightly darker crumb.
- Psyllium husk: Psyllium helps bind the dough and improves the texture of gluten-free bread.
- Oil: A small amount of oil helps keep the crumb soft.
How To Serve
- Toast and spread: This bread is lovely toasted and served with butter, jam or honey.
- For sandwiches: The loaf slices well and works nicely for simple sandwiches.
- With soup or salad: It also makes a good everyday bread to serve alongside soups or light meals.
Storage
- Room temperature: Store in an airtight container for up to 2 days.
- Freezing: Slice and freeze for up to 2 months.
- Refreshing: Toast or warm slightly before serving if needed.
Rustic Teff Bread
Simple homemade bread made with teff flour and a gluten-free flour blend. This rustic loaf slices well and works beautifully for toast, sandwiches or serving with soups.
Ingredients
Equipment
Method
- Preheat the oven to 190°C (fan).
- Line a large loaf tin (approx. 32 cm) with a single strip of baking paper so it covers the bottom and the two long sides. Leave the paper longer on both sides to act as handles for lifting the bread out after baking. Lightly oil the short ends of the tin.

- In a bowl combine the gluten-free flour, teff flour, salt, sugar, yeast and psyllium husk. Stir well to mix the dry ingredients.
- Add the warm water and oil.
- Mix with an electric mixer using metal beaters for about 3 minutes until a thick dough forms.
- The dough should be a very thick batter — thicker than cake batter but not kneadable like wheat dough.It should be soft enough to slowly drop from the beaters within 1–2 seconds when lifted.If the dough sticks firmly to the beaters and does not drop, add extra warm water 1 tablespoon at a time, mixing well between each addition, until the dough reaches this consistency.The dough should feel thick but spreadable and should not hold stiff peaks.The exact amount of water may vary depending on the flour blend used.
- Transfer the dough to the prepared loaf tin. Using a wet spatula, smooth the surface and shape the dough so it is slightly higher in the centre than at the edges. This gentle dome helps support the loaf as it bakes and can reduce a dip forming on top.
- Cover the tin loosely with cling film and allow the dough to prove. In my kitchen this took about 18–20 minutes, but the time may vary depending on temperature. Watch the dough as it rises. The cling film helps trap warmth and moisture while still allowing you to see the height of the dough.If the dough starts to rise close to the cling film, remove the cling film before it touches the dough.
- After 20 minutes, check the height of the dough:If the dough is just below the rim of the tin, place it straight into the oven.If it is still clearly lower (about 1–2 cm below the rim), allow it to prove for another 5–10 minutes.Do not allow the dough to rise above the rim of the tin, as this can cause the loaf to collapse during baking.
- Bake for 45 minutes until the loaf is golden brown.
- Remove the bread from the oven and lift it out of the tin immediately using the baking paper handles.
- Carefully peel away and discard the baking paper, then place the loaf directly onto a wire rack.
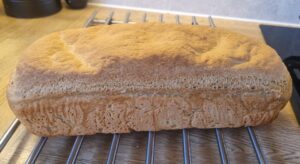
- Allow the bread to cool for at least 1 hour before slicing so the crumb can set properly.
Notes
- Tin size matters: This recipe is designed for a large 32 cm loaf tin. Using a smaller tin may change the baking time and the height of the loaf.
- Dough texture: Gluten-free bread dough is softer than traditional bread dough and should look like a very thick batter that can be spread with a spatula.
- Adjusting the water: Different gluten-free flour blends absorb water differently. If the dough feels very stiff, add a little extra water (up to 2 tablespoons) until it becomes easier to spread.
- Proving: Gluten-free dough can rise quickly. It is better to bake the loaf slightly early rather than over-proving, which can cause the bread to collapse.
- Cooling: Allow the bread to cool for at least 45–60 minutes before slicing so the crumb can set properly.
- Optional flavouring: The basic loaf is mild in flavour, but you can add fennel seeds, caraway seeds or a small pinch of ground star anise if you want a more aromatic bread.